
CUT/SEW 020 Hood + Tunic WIP - Fabric & Modifications
When CUT/SEW told me I was chosen to be one of their summer reps I was SO HYPE. I've always wanted to use one of their patterns - they're so cute! I've been getting a little bored with costumes and wanted to start making real people clothes. I also looooove posting lots of work in progress photos and notes in hopes it'll help someone learn along the way so I was more than happy to be able to do so with their patterns!
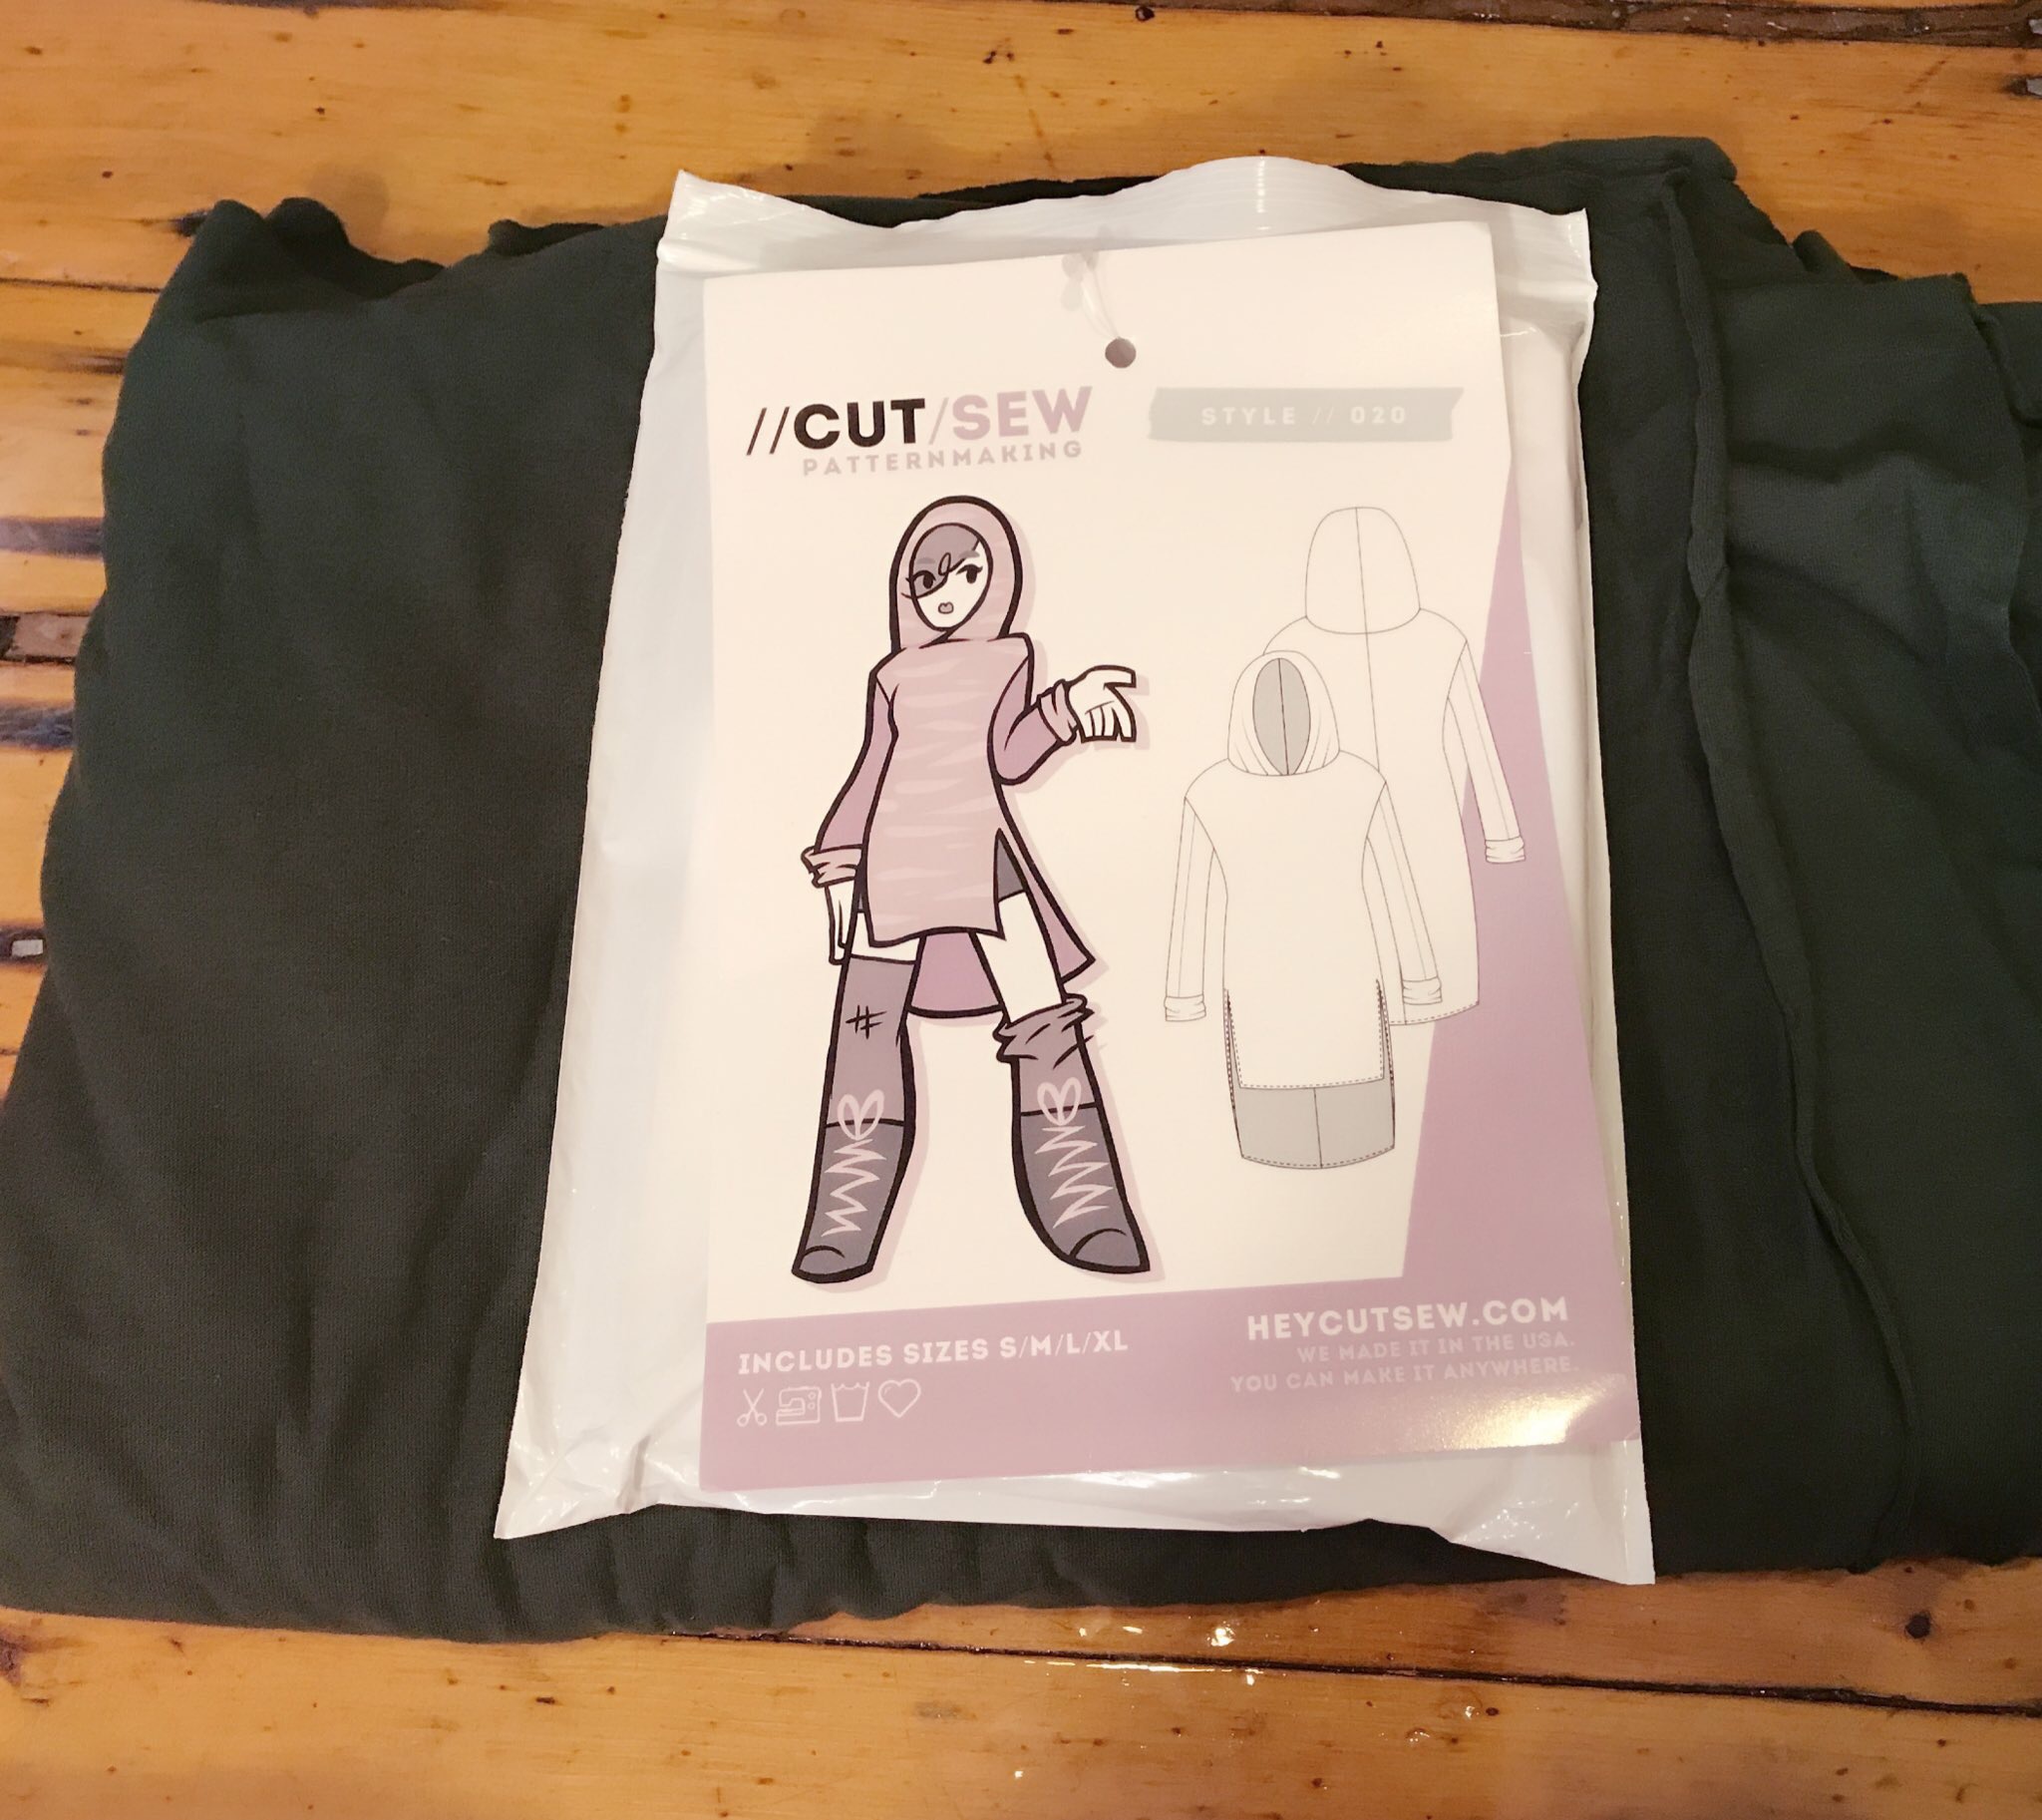
I recently received the pattern I'd be working with in the mail last week. I was sent their pattern 020, HOOD + TUNIC. I actually asked for a heads up on which pattern I'd be working with so I could start planning designs and start gathering fabric.
And being the Super Extra person that I am, I decided on three designs seen in the mess below

I decided I'd make the simplest out of all the designs I made first so it would be relatively easy to follow. The design I chose was this green one with mesh panels and gold applique.

Here are the materials I'll be using and where you can find them
Before we get into the sewing and fabric - let's talk about the pattern itself.

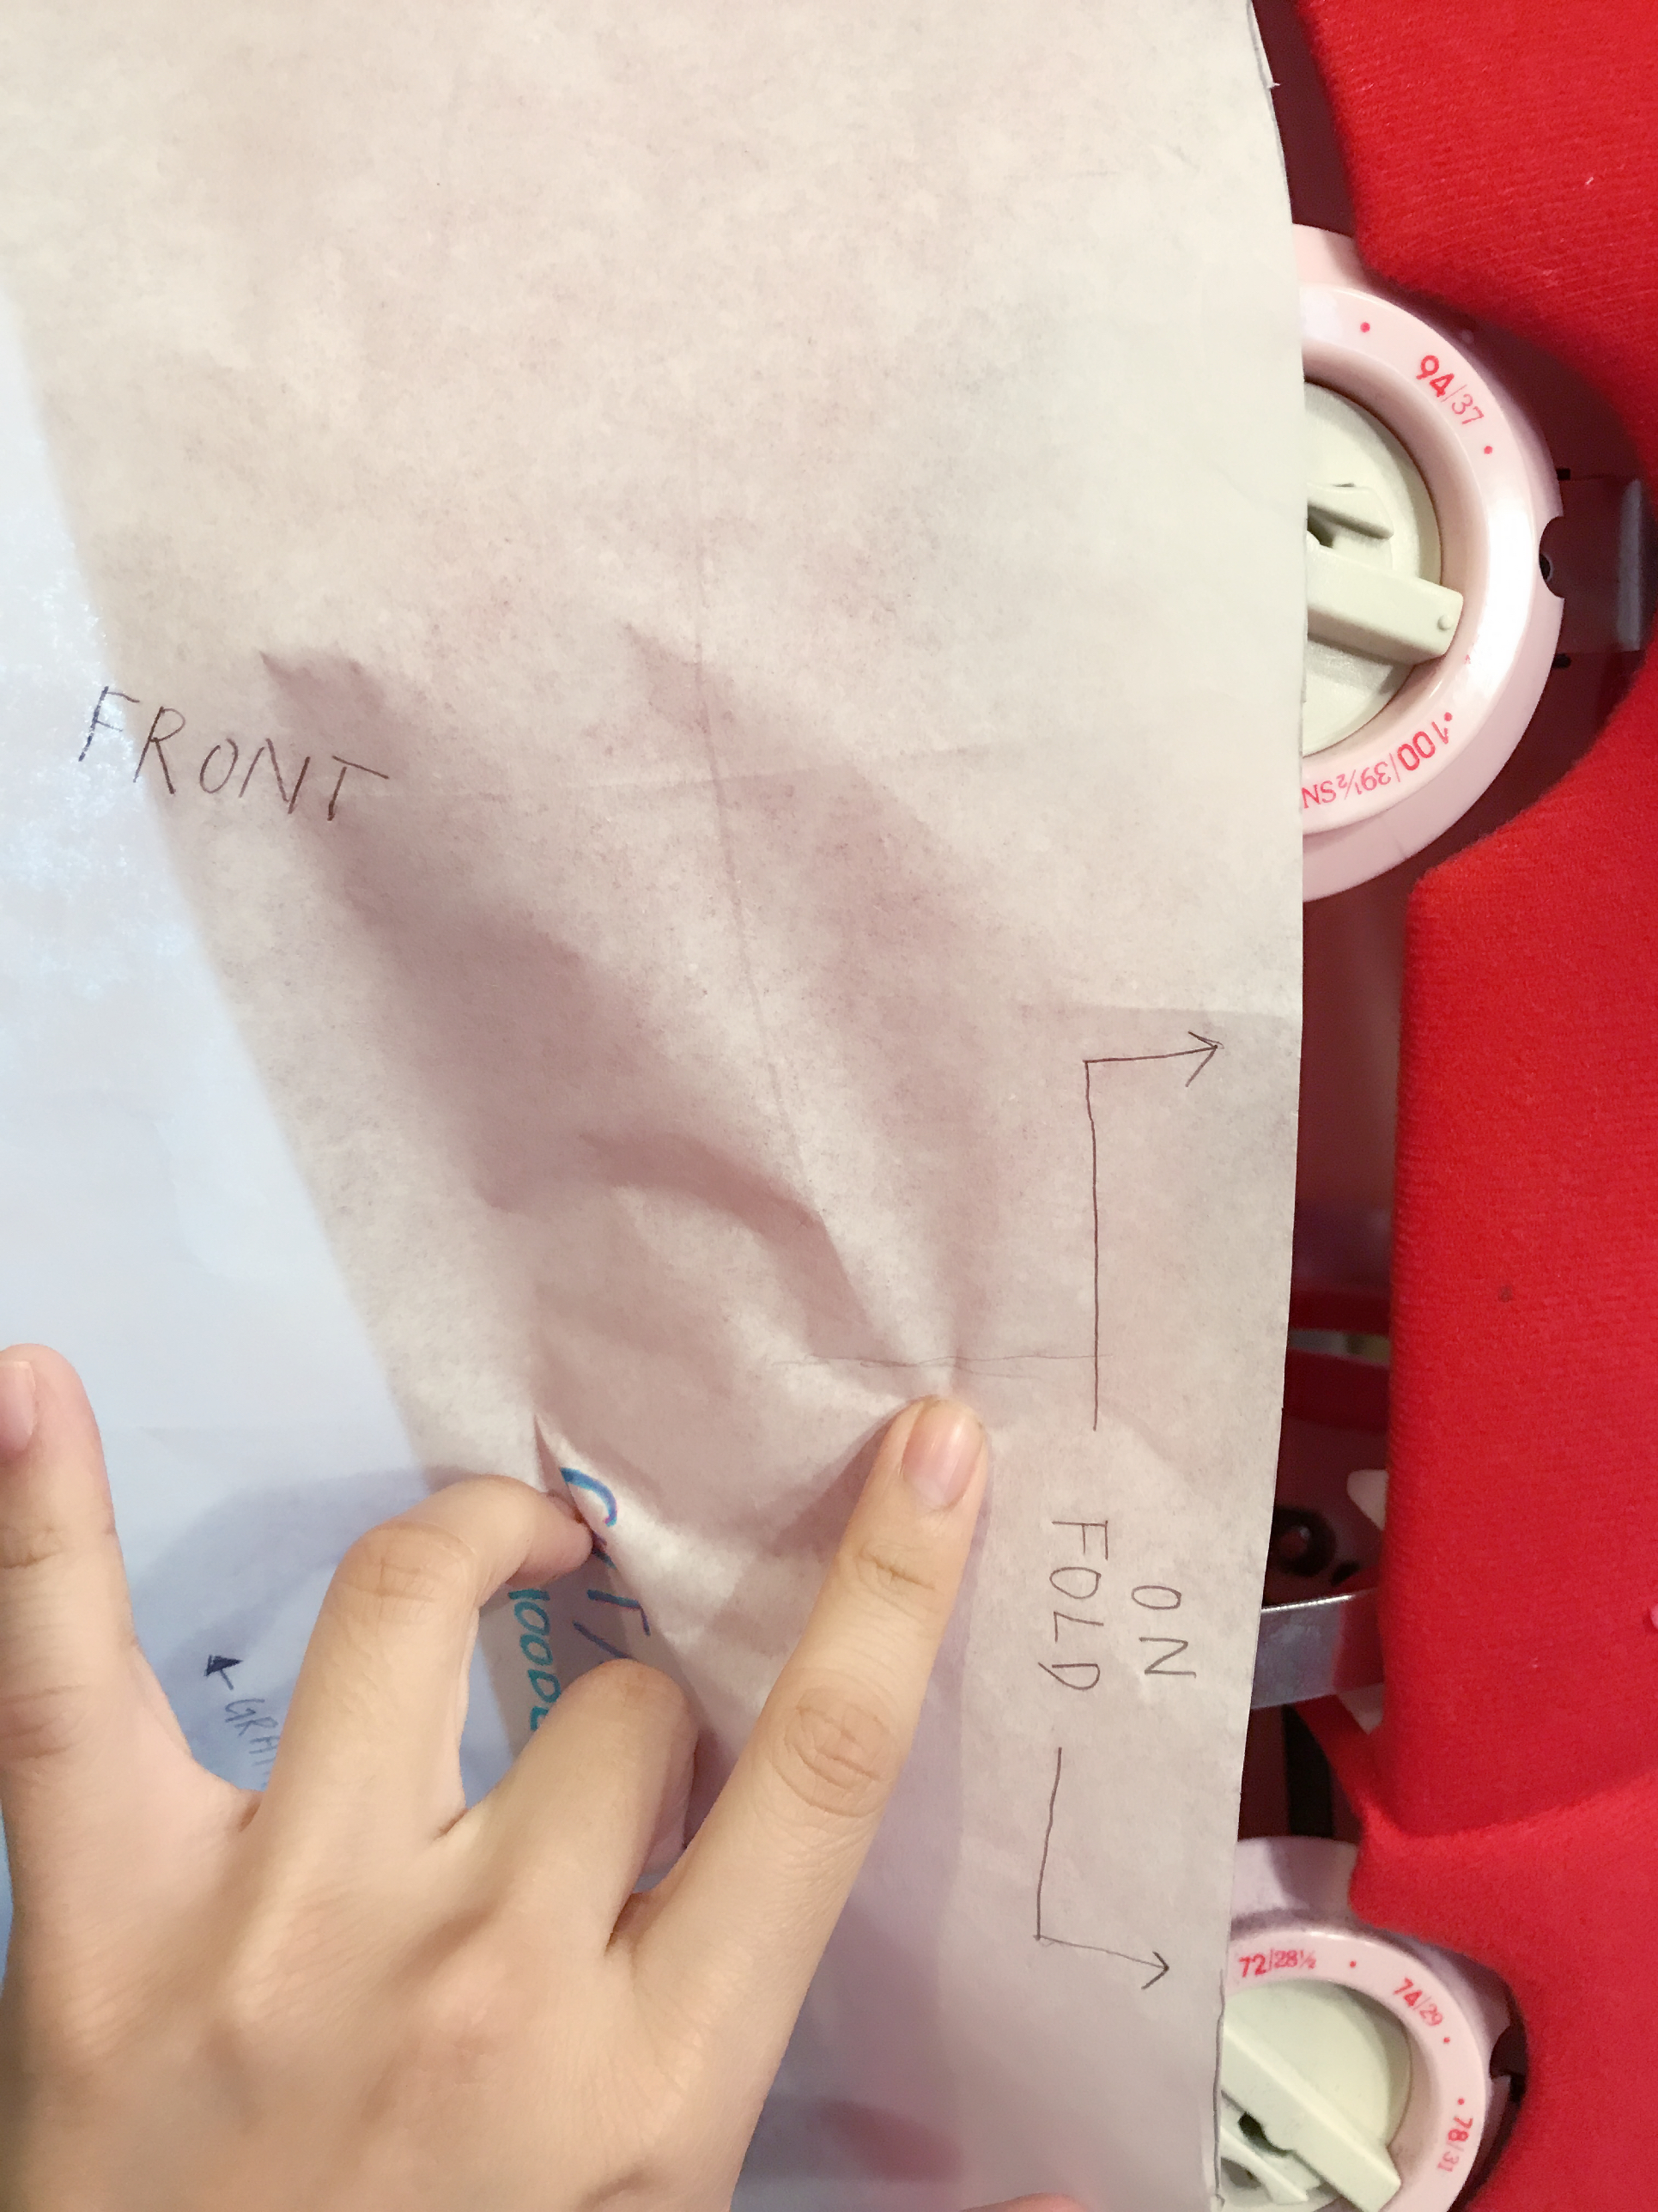
Tracing the original pattern on tissue paper

OOooh nice fancy paper *^*
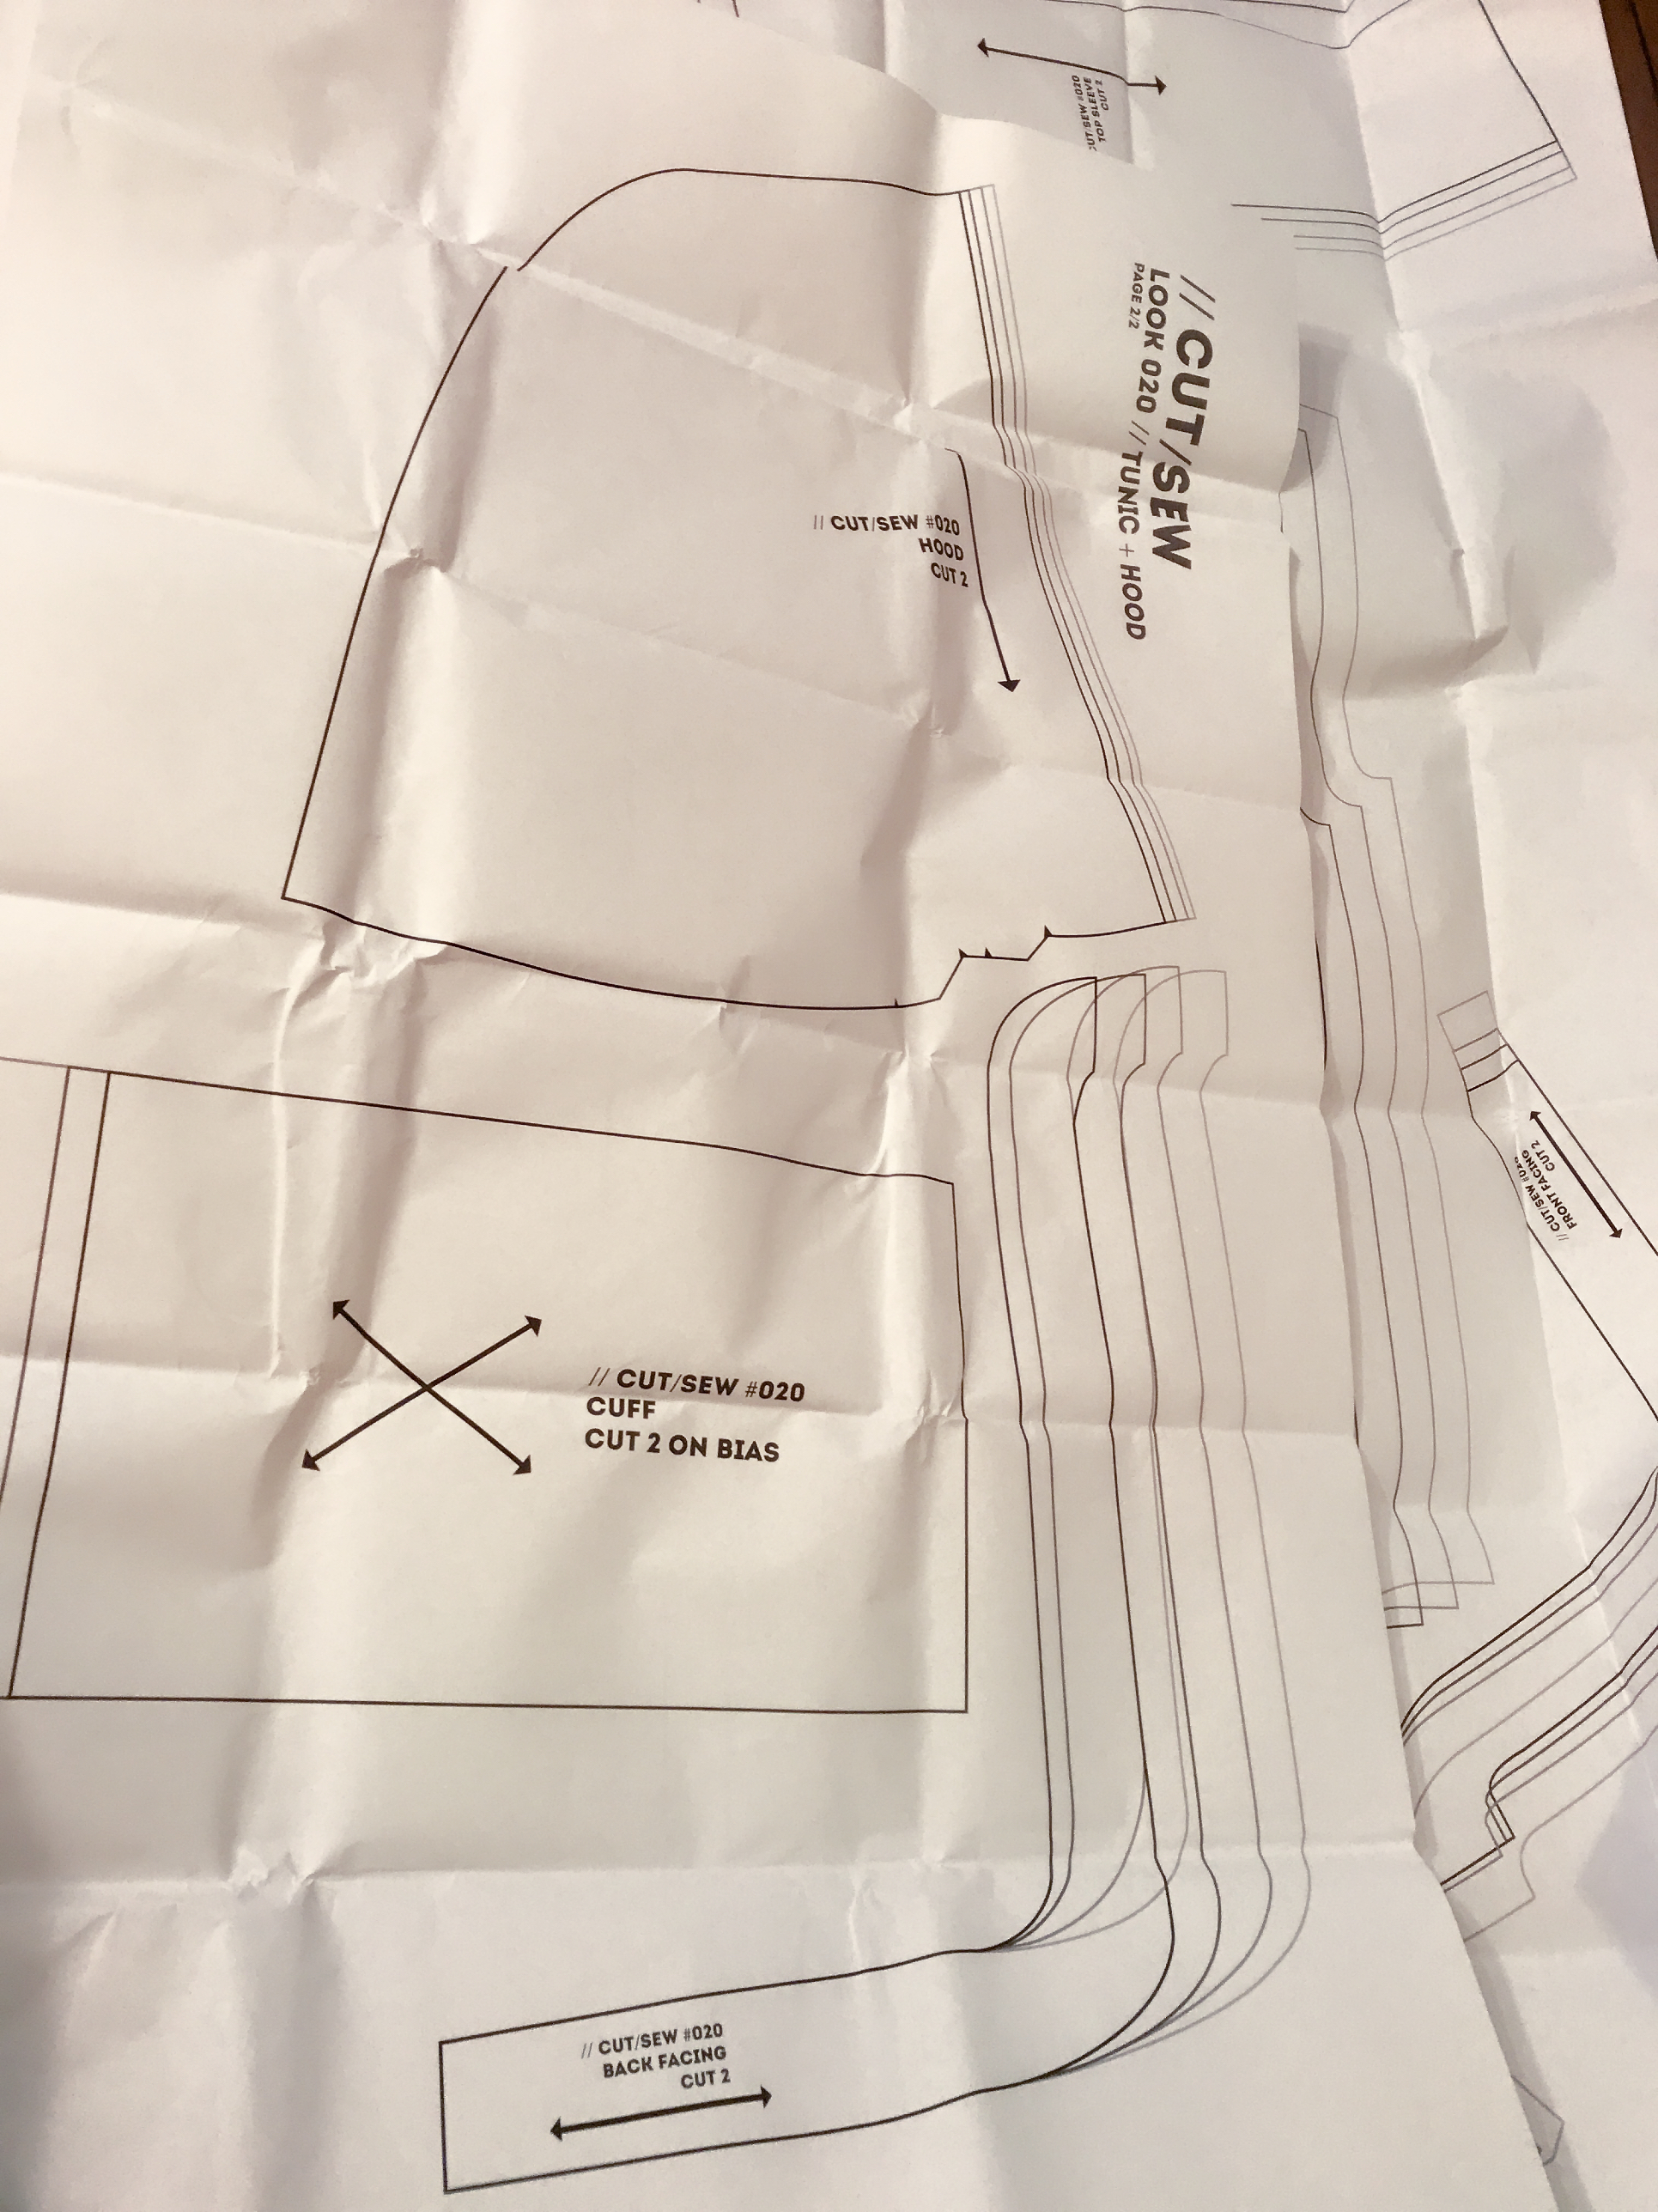
The paper was really nice and sturdy, making it easy to fold back and put back into the packaging which is a huge plus. No matter how hard I always get that big ugly bulk when trying to put patterns back in. You know the one.

Struggling to put the pattern back in...

Struggle free - nICE!!!
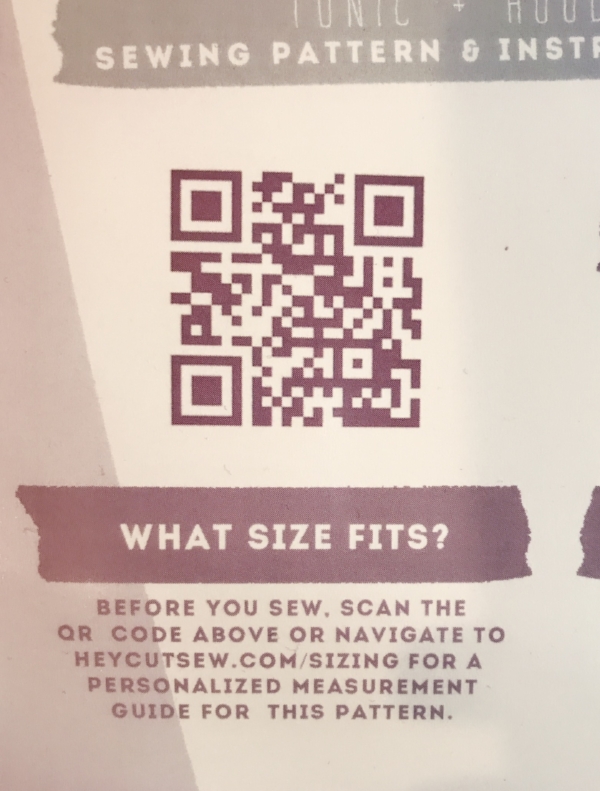
I also found the little QR code on the back super cool! Scanning it brings you right to their site with instructions on figuring out your size.
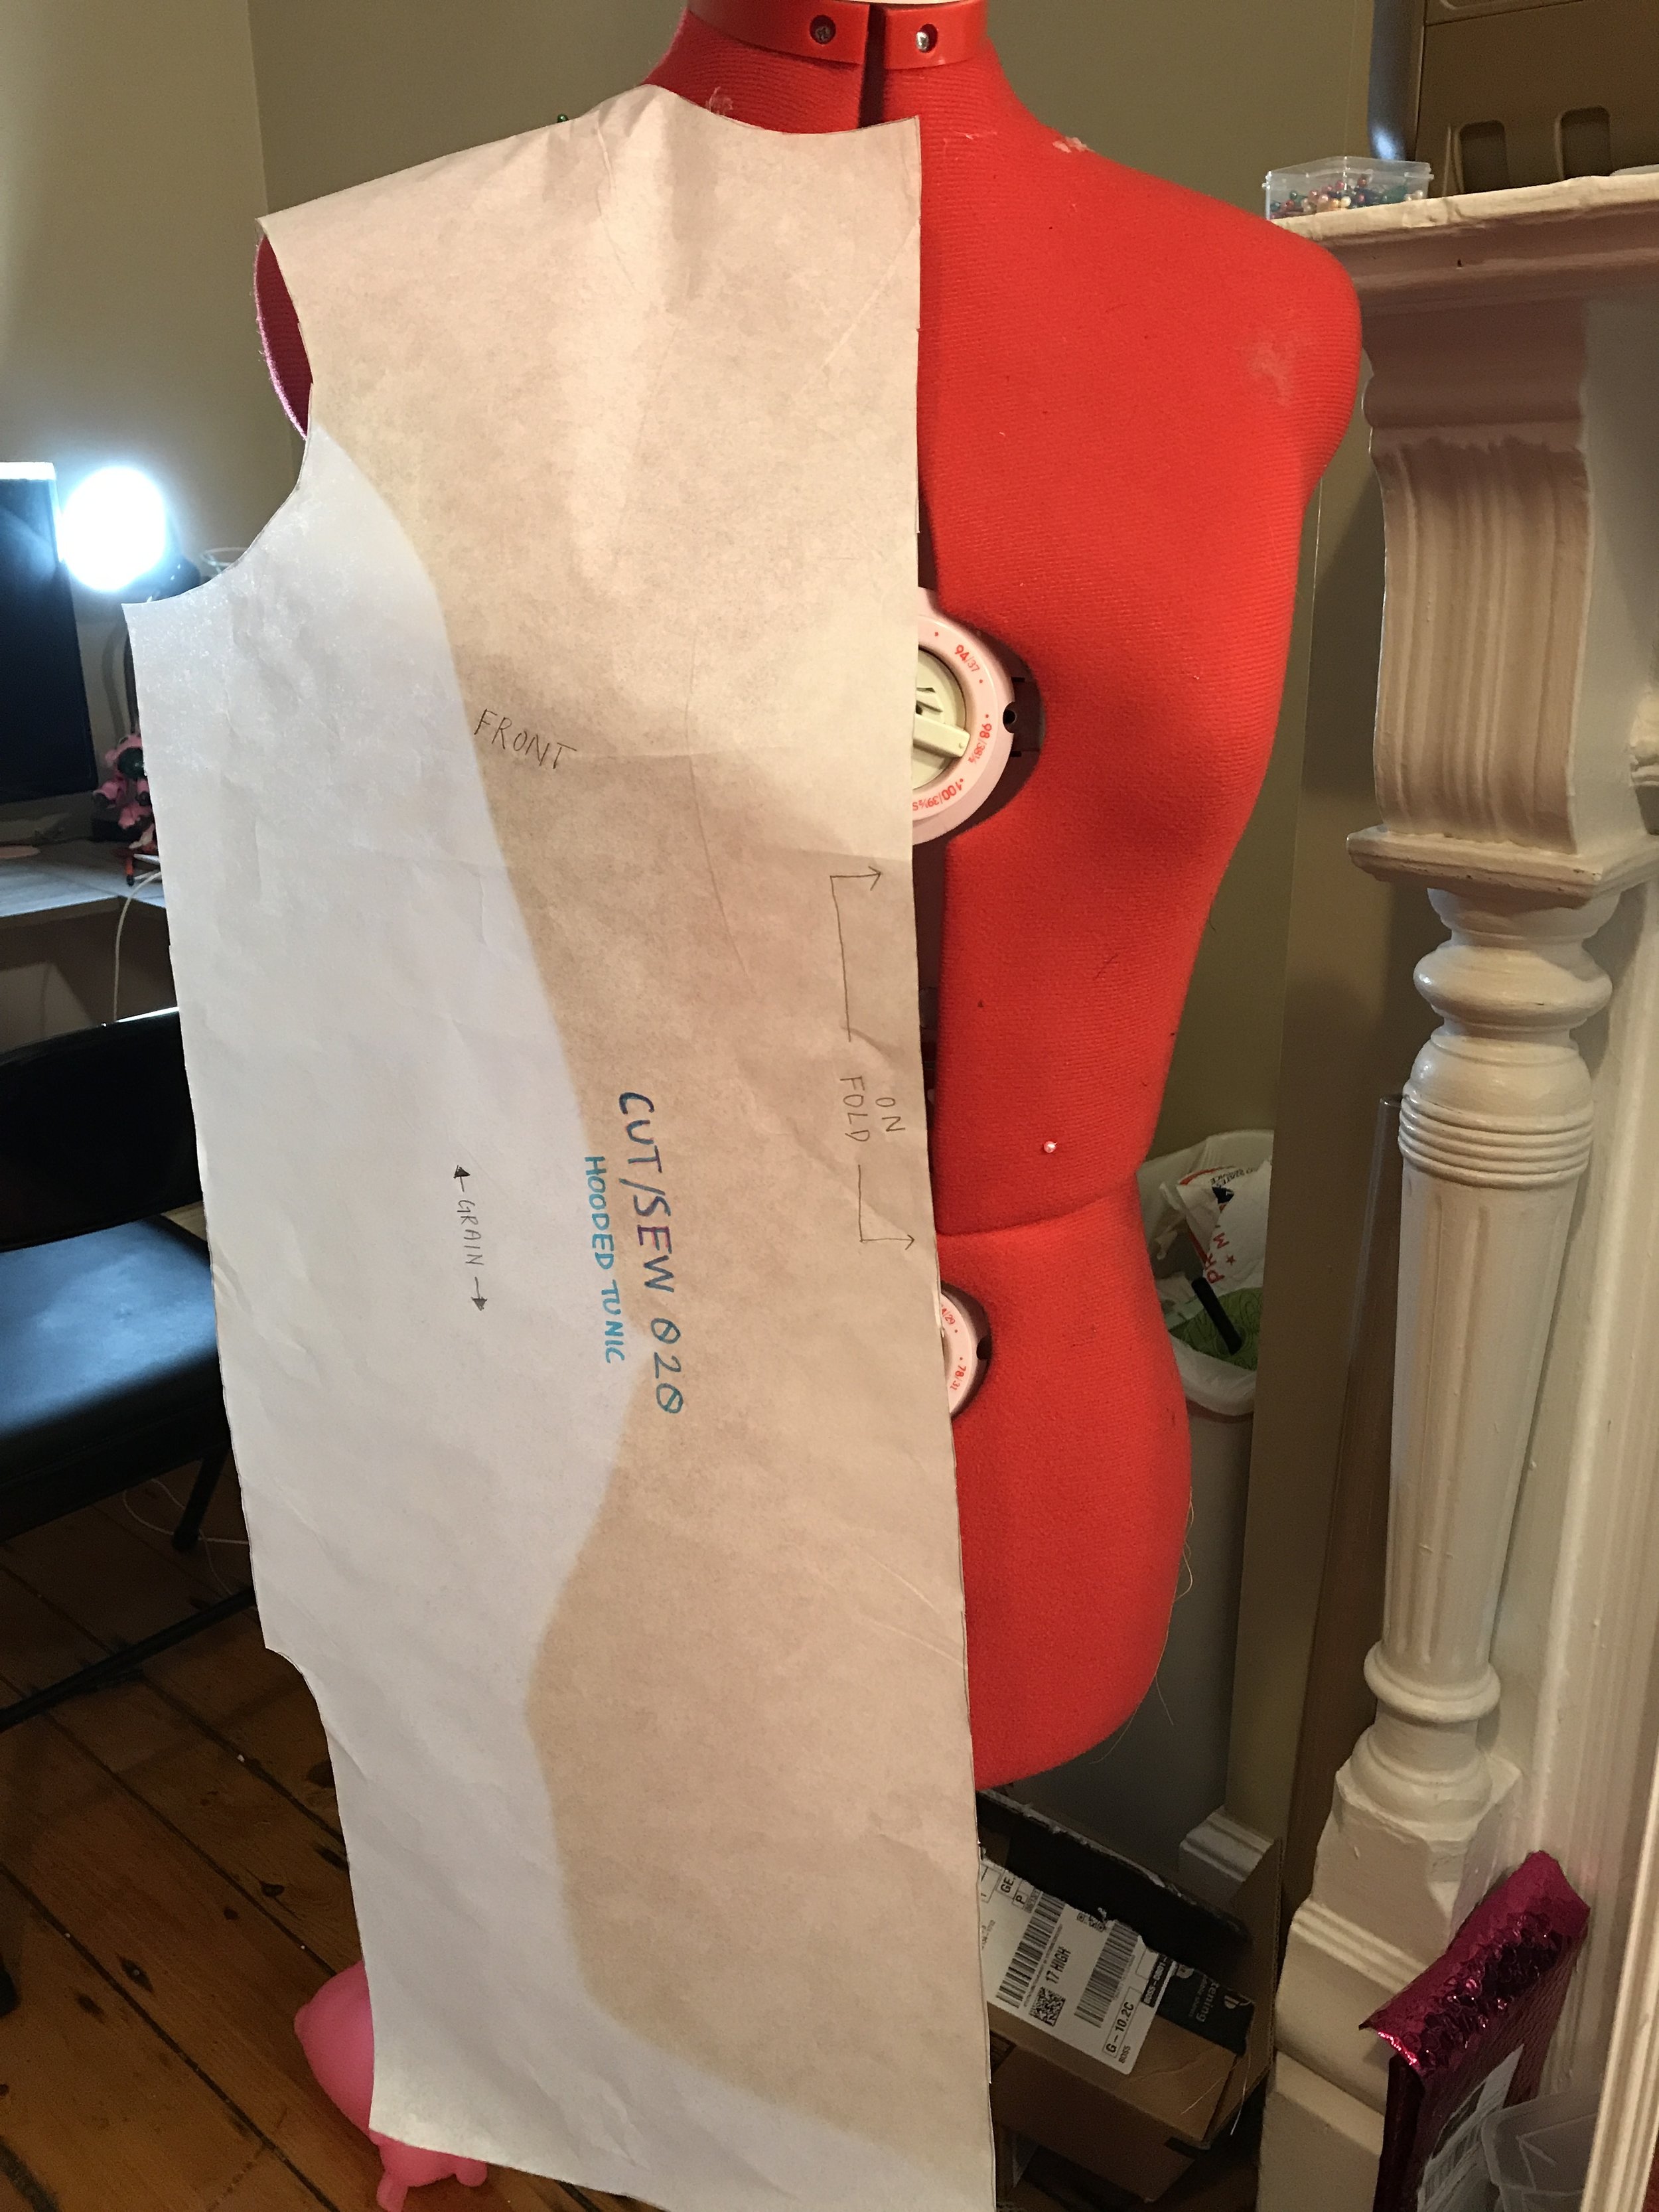
Since I would be making modifications to the pattern, I traced the pattern on tissue paper I used for my own pattern making. If you don't plan on making any modifications to the pattern you can skip the following steps.
For this design I added two mesh panels on the front and small stripes of the black spandex to the sleeves. I wanted the panels to start directly under my chest so I draped it over my dress form and marked where the panel would start.
Pinning the front piece to my dress form to see where I want to add the panels.
Marking just below the bust for where the panel will start.
I made my panels 2" wide and 2" apart. I marked where my modifications would be with little symbols so I'd remember which pieces to sew together. This is SUPER important - especially when all the pieces look the same. Even if they don't look, it's still good practice to mark them just in case you forget when using the pattern again.

I also marked that I needed to add seam allowance when cutting. You don't have to do this but whenever I make pattern modifications and I don't write SEAM ALLOWANCE in big letters I always forget to add it, haha.
That's all I've got for now! I'm still waiting on the power mesh and appliqué to come in the mail. Next time I'll be actually cutting fabric this time :P Then I'll dive straight into sewing!
If you want to sew your own hooded tunic or use any of CUT/SEW's patterns feel free to use my code NOTZILLA10 for 10% off!